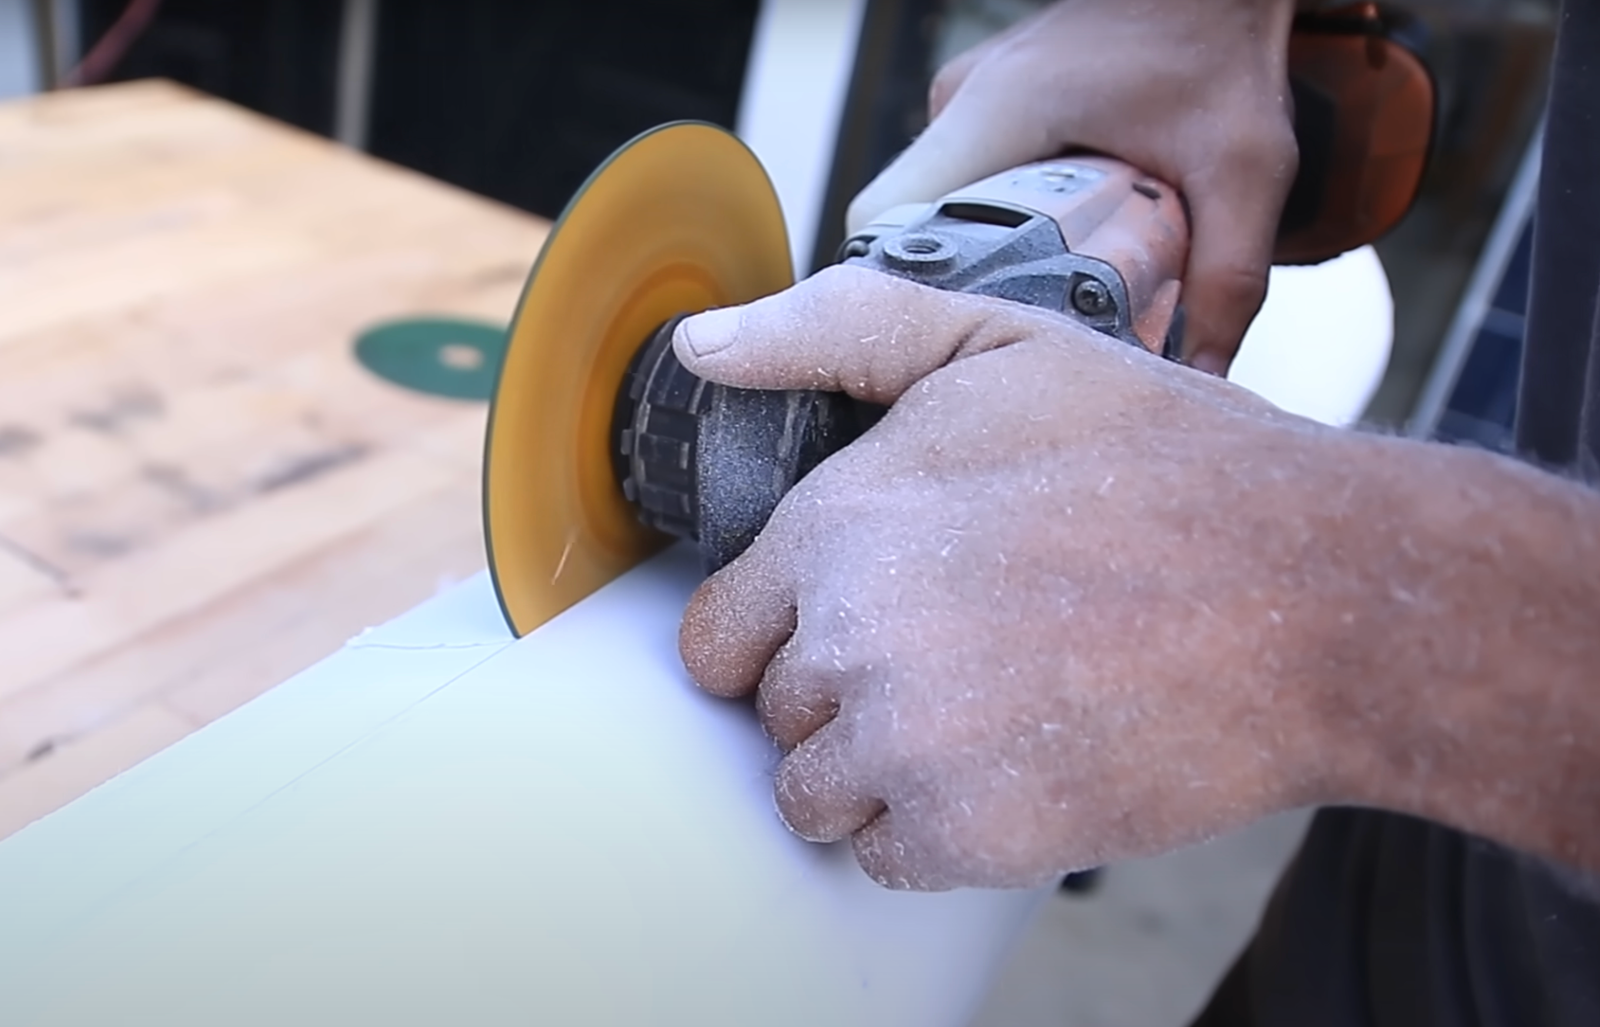
Hello, green energy enthusiasts and crafty builders! After our comprehensive article on important things to know before building your own DIY Wind Turbine, we realized there’s so much more to share. So, we’re diving deeper with a special series, starting with the heart of the turbine: the blades.
In our journey of DIY wind energy, blades play a starring role. They’re not just the movers and shakers; they’re the magic wands that turn breezes into electricity. But as we’ve learned, not all blades are created equal. Their design, material, and even the number of blades can make or break your wind energy dreams.
Our new series promises to be more than just a how-to guide. It’s a deep dive into each component of the wind turbine, starting with these vital spinners. We’ll explore everything from crafting the perfect size and shape to the secrets of installing and calibrating them just right.
So, if you’re ready to spin into the nitty-gritty of DIY wind turbine blades, let’s get this whirlwind adventure started!
- 1. Determining Blade Size: Length and Width
- 2. Choosing the Right Number of Blades for Your DIY Wind Turbine
- 3. Choosing the Right Material for Your Blades
- 4. Blade Shape and Aerodynamic Optimization
- 5. Mounting Your DIY Wind Turbine Blades: A Step-by-Step Guide
- 6. Calibrating the Blades of Your DIY Wind Turbine
- Conclusion
- Additional Resources
1. Determining Blade Size: Length and Width
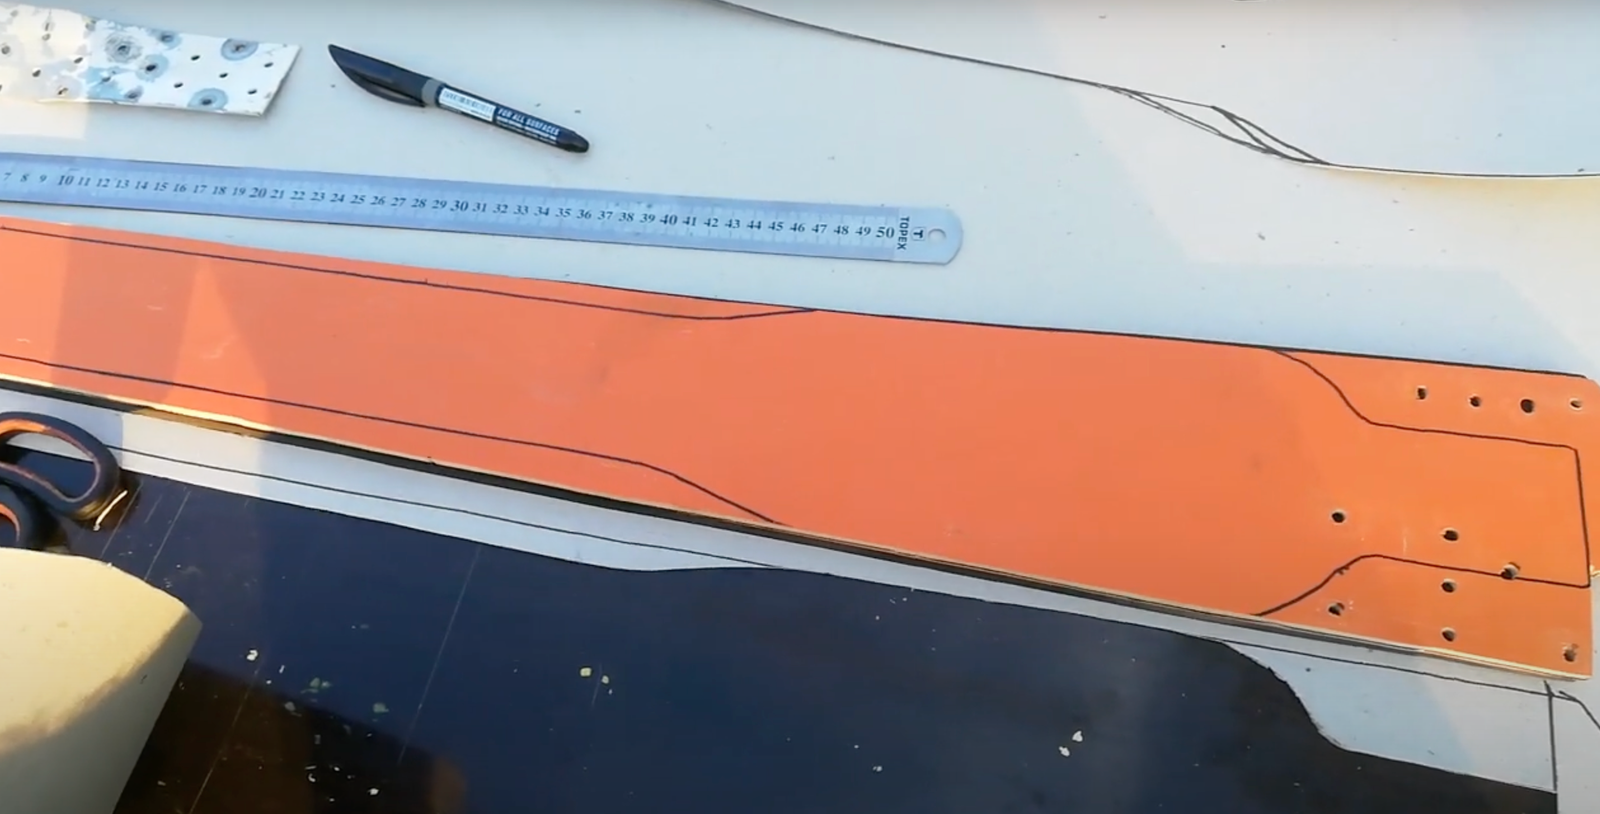
In building a DIY wind turbine, particularly for residential use, selecting the appropriate size for your blades – both in length and width – is crucial. This decision impacts not only the efficiency of your turbine but also its practicality in a home setting.
a. Length: The Foundation of Efficiency
The length of the blades is a critical factor in your turbine’s ability to harness wind. Longer blades sweep a larger area, capturing more energy. However, for residential turbines, there’s a balance to be struck. Blades that are too long may pose practical challenges and safety concerns. Typically, residential wind turbine blades range from 1 to 3 meters in length, providing a harmonious blend of efficiency and manageability.
b. Width: The Key to Aerodynamic Balance
The width, or chord, of the blades is just as important. It determines how effectively the blade interacts with the wind at various points along its length. While specific calculations can be used to optimize the chord, a general approach for DIY enthusiasts is to proportion the width relative to the blade length, ensuring aerodynamic balance and effective wind capture.
For a residential turbine, maintaining a chord that is proportionate and harmonically balanced with the length of the blade is essential. This balance ensures the blades are effective in capturing wind energy while maintaining structural integrity and operational safety.
2. Choosing the Right Number of Blades for Your DIY Wind Turbine
With our blades sized up in length and width, let’s tackle another vital question: how many blades should your DIY wind turbine have? It might seem like a simple choice, but the number of blades is a critical decision that impacts the turbine’s efficiency, cost, and even aesthetics.
a. The Classic Three-Blade Design
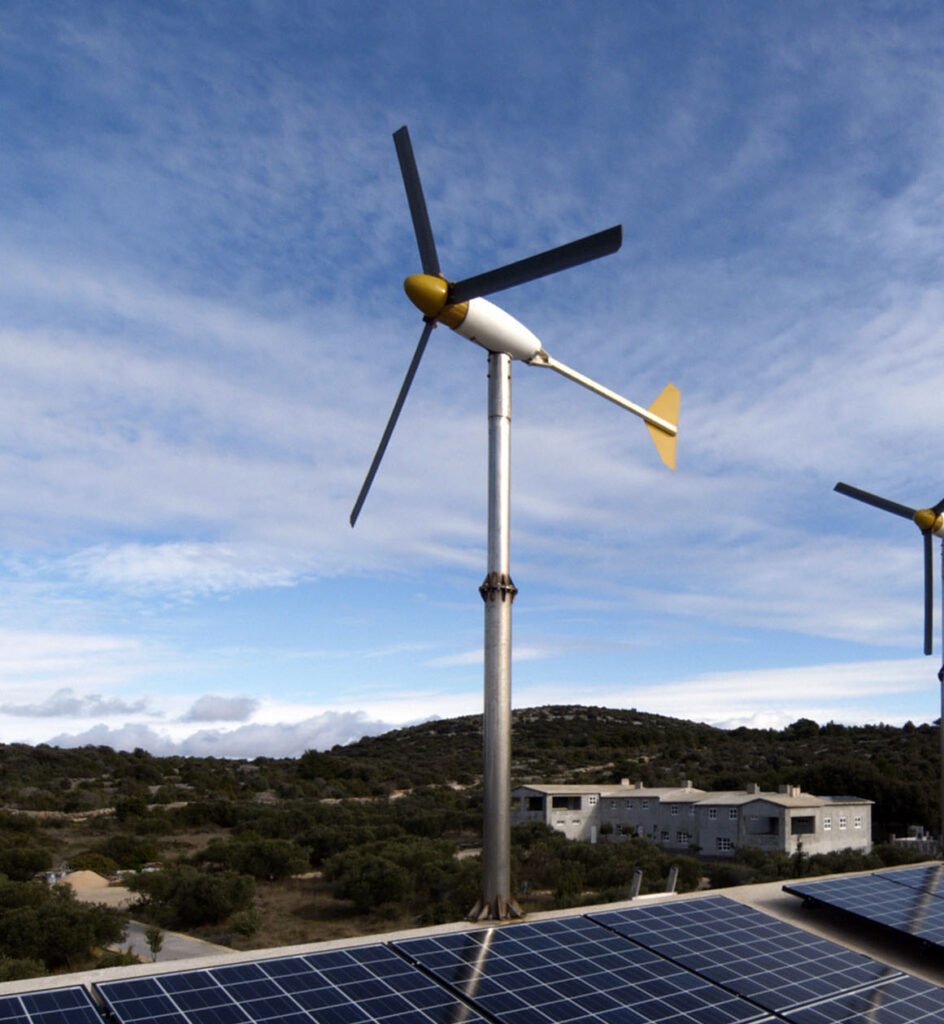
The most common sight in modern wind farms is the three-blade turbine. Why three? It’s the sweet spot between efficiency and practicality. Three blades offer a good balance of low noise, minimal vibration, and decent energy capture. They’re easier on the eyes too, presenting a harmonious and balanced appearance.
b. Two, Four or Five Blades? The Alternatives
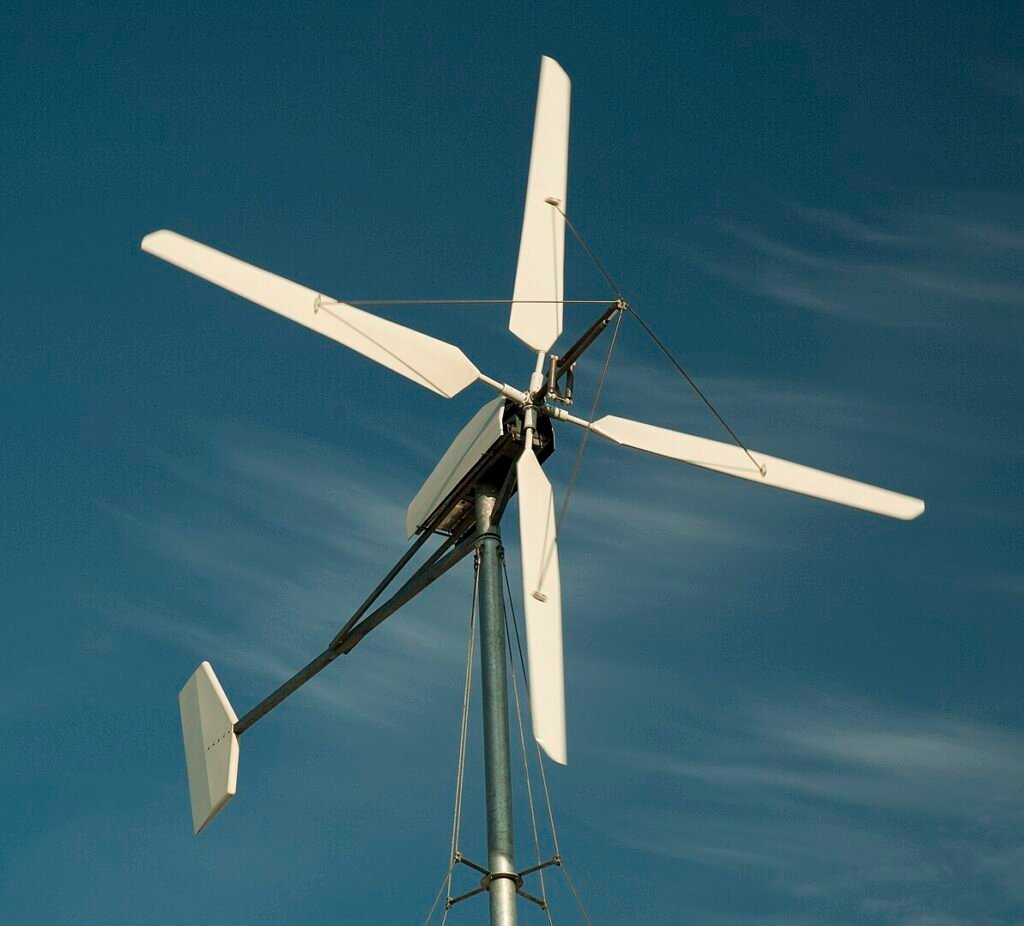
What about two, four, or five blades? Two-bladed turbines can be cheaper and faster to construct. They spin faster, which can be a boon for efficiency but a bane for noise and visual impact. On the other hand, four our five-bladed designs, while potentially offering more stability and energy capture, are less efficient due to aerodynamic losses and are more complex to build.
c. The Vertical Axis Approach
You can always consider taking a different route and opt for a vertical axis turbine. Unlike the horizontal axis models, these turbines have blades that rotate around a vertical axis. They offer a unique advantage: they don’t need to be pointed towards the wind to be effective. This makes them ideal for areas where wind directions frequently change. Vertical axis turbines can be more compact, making them suitable for residential areas, but they often have lower efficiency and can be more challenging to install and maintain.

If you are less familiar but curious about Vertical Axis Wind Turbines, I invite you to take a look at this article where I cover the differences, as well as the pros and cons of both wind turbine models. Click Here!
d. The DIY Decision
Choosing the number of blades, or even the type of turbine, depends on your personal goals, available resources, and specific constraints. If simplicity and cost are your priorities, a two-blade design might be suitable. For a balance of efficiency and aesthetic appeal, three blades are ideal. If you’re looking to experiment in an urban setting or with varying wind conditions, the vertical axis approach could be intriguing.
3. Choosing the Right Material for Your Blades
Now that we’ve settled on the size and number of blades for our DIY wind turbine, let’s talk materials. The material you choose for your blades can make a significant difference in performance, longevity, and cost. Here’s a rundown of some popular choices and their trade-offs.
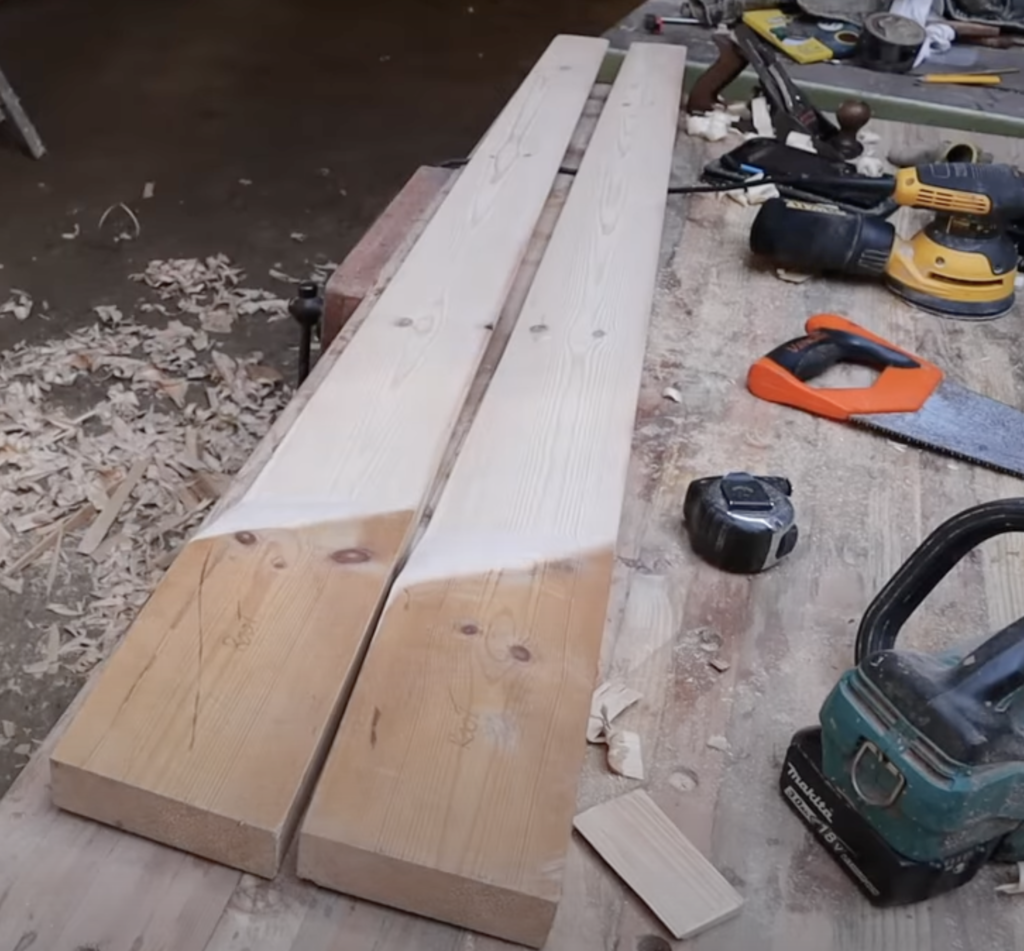
a. Wood: The Classic Choice
- Pros: Wood is readily available, easy to work with, and has a natural flexibility that’s beneficial for blade dynamics. It’s also relatively inexpensive and gives your turbine a classic, rustic look.
- Cons: Wood can be heavy, especially in larger blades, and is susceptible to weathering and rot without proper treatment.
b. Fiberglass: The Durable Performer
- Pros: Fiberglass blades are known for their durability and resistance to weather elements. They’re lighter than wood and can be very efficient in capturing wind energy.
- Cons: Working with fiberglass requires specific skills and safety precautions. It’s also more expensive than wood and less environmentally friendly.
c. Aluminum: The Lightweight Metal
- Pros: Aluminum blades are lightweight and resistant to corrosion, making them a good choice for longevity and consistent performance.
- Cons: Aluminum can be expensive, and fabricating metal blades requires metalworking skills and tools. They can also be noisier than other materials.
d. Plastic (PVC): The Budget-Friendly Option
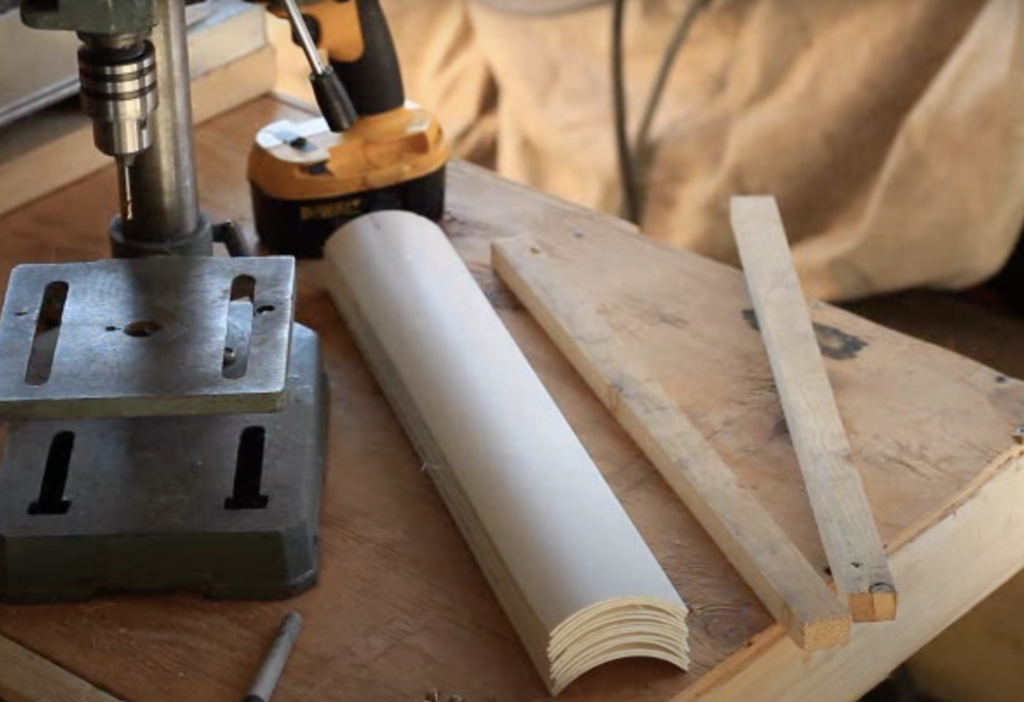
- Pros: PVC blades are cheap, easy to find, and simple to work with, making them a great choice for beginner DIYers or those on a tight budget.
- Cons: Plastic blades aren’t as durable as other materials and can degrade under intense sunlight and varying weather conditions.
e. Composite Materials: The High-Tech Blend
- Pros: Composites, like carbon fiber, offer a fantastic blend of strength and lightness. They’re used in high-end turbines for their efficiency and durability.
- Cons: The cost can be prohibitive for many DIYers, and working with composites requires specialized knowledge and tools.
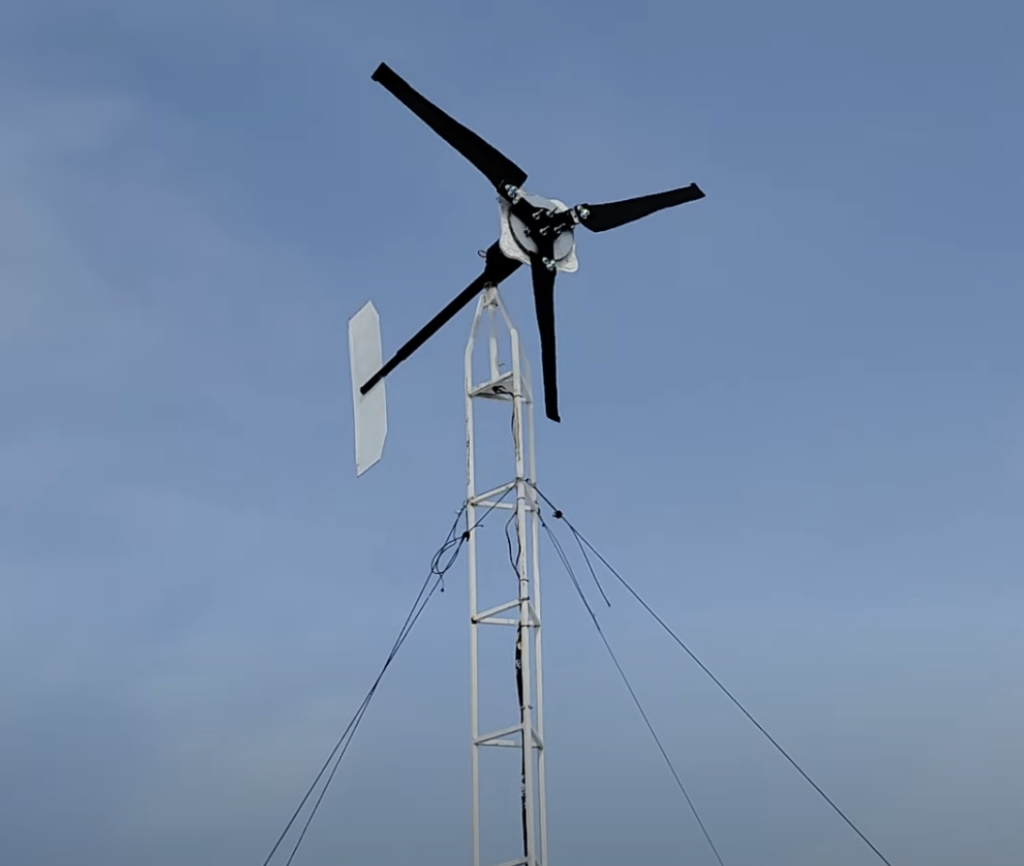
When selecting a material, consider factors like your local climate, the size of your turbine, and your level of DIY expertise. Remember, there’s no one-size-fits-all solution. Your choice should align with your specific needs, budget, and the goals of your project.
4. Blade Shape and Aerodynamic Optimization
With our materials in hand, it’s time to shape them into efficient, wind-harnessing machines. The shape of your wind turbine blades is not just about aesthetics; it’s a crucial factor in determining how effectively they capture wind energy. Let’s delve into the essentials of blade aerodynamics and how to shape your blades for optimal performance.
a. Understanding Aerodynamics: The Basics
- Airfoil Design: The cross-sectional shape of the blade, or airfoil, is key to its performance. An effective airfoil design reduces drag (resistance against the wind) and increases lift (force pushing the blade to rotate).
- Lift-to-Drag Ratio: A higher lift-to-drag ratio means more efficient energy conversion. The goal is to design blades that cut through the wind smoothly while extracting maximum energy.
b. The Importance of Pitch and Twist
- Pitch: This is the angle at which the blade slices the wind. Adjustable pitch allows for optimization under different wind conditions.
- Twist: Blades are usually twisted to ensure that all parts of the blade contribute equally to energy generation. The twist changes the angle of attack along the blade’s length, accommodating variations in wind speed and direction.
c. Blade Length and Tapering
- Length Considerations: Longer blades capture more wind, but require stronger materials and more precise engineering.
- Tapering for Efficiency: Blades often taper towards the tip to reduce weight and maintain structural integrity. This also helps in balancing the blades and reducing material usage.
d. Practical Shaping Tips
- Template Use: Use templates for consistent shaping, especially if you’re making multiple blades.
- Smoothing Surfaces: Ensure the surfaces of your blades are smooth to reduce drag and improve efficiency.
- Testing and Adjusting: Small adjustments in shape can have significant impacts. Test and tweak your blades to find the best configuration.
e. Safety and Sustainability
- Structural Integrity: Ensure your blades can withstand high winds and variable conditions.
- Environmental Considerations: Choose shapes that minimize noise and visual impact, especially in residential areas.
5. Mounting Your DIY Wind Turbine Blades: A Step-by-Step Guide
As we embark on the critical phase of mounting our meticulously crafted blades onto our DIY wind turbine, it’s essential to approach this task with a blend of precision, safety, and patience. The installation process is pivotal, marking the transition from individual components to a functional wind-harnessing unit.
a. Preparation is Key
Before we dive in, preparation is crucial. Gather all necessary tools and hardware, including wrenches, bolts, and safety gear. Remember, safety is paramount, especially when working at heights. If your turbine is tall, ensure you have a stable working platform and consider safety harnesses.
b. Attaching Blades to the Hub
The first major step involves aligning and attaching the blades to the hub. This step is crucial for the balance and smooth operation of the turbine. Position your blades evenly around the hub and use durable bolts and nuts to secure each blade firmly in place. It’s important to tighten these evenly to avoid any wobbling or misalignment, which could lead to inefficiencies or damage.
c. Mounting the Hub
Once the blades are securely attached to the hub, the next step is to mount this hub onto the turbine’s rotor or shaft. Careful alignment here is critical for efficient energy transfer from the blades to the turbine. Use heavy-duty fasteners for this connection and double-check for any movement or play, which could indicate a less-than-optimal installation.
d. Ensuring Balance and Safety
After attaching the hub, it’s essential to test the balance of the blades. An imbalance can cause vibrations and reduce the efficiency of your turbine. If necessary, adjust the positioning of the blades or add small weights to achieve a balanced rotation. When it comes to hoisting the turbine, always prioritize safety. Use appropriate lifting techniques or machinery, and never attempt to lift it alone. Ensure the turbine is positioned steadily on its tower or base.
e. Final Checks for a Smooth Operation
With the turbine mounted, conduct a thorough inspection of all connections, ensuring every bolt, nut, and connection point is secure. A final, crucial step is to gently rotate the blades by hand, checking for smooth and unobstructed movement. This manual test can reveal any last-minute adjustments needed before your turbine takes on the winds.
6. Calibrating the Blades of Your DIY Wind Turbine
With our wind turbine blades installed and standing tall, we now enter the final, yet equally crucial stage of our DIY project: blade calibration. This process is about fine-tuning your turbine to ensure it operates efficiently, safely, and effectively. Calibration is not just a one-time task; it’s an ongoing commitment to maintaining your turbine’s performance.
a. Understanding Blade Calibration
Calibration of wind turbine blades involves adjusting their angle and position to optimize their interaction with the wind. Proper calibration ensures that the blades capture the maximum amount of wind energy possible and convert it efficiently into rotational energy. This process is vital for both the performance and longevity of your turbine.
b. Initial Calibration Steps
Start by checking the pitch angle of each blade — the angle at which a blade cuts into the wind. This angle can significantly impact the turbine’s efficiency. An incorrectly pitched blade can lead to poor energy capture and even damage to the turbine under high wind conditions. Use a protractor or a digital angle finder to measure and adjust the pitch of each blade so that they are uniform.
c. Balancing the Blades
Another key aspect of calibration is balancing the blades. Unbalanced blades can cause vibration, noise, and wear on the turbine’s bearings and structure. To balance your blades, you may need to add small weights or make slight adjustments to their position. This process might require some trial and error, but it’s essential for smooth operation.
d. Monitoring and Maintenance
After the initial calibration, it’s important to monitor your turbine’s performance regularly. Look for signs of vibration, listen for unusual noises, and keep an eye on your energy output. These indicators can help you identify when re-calibration might be necessary. Regular maintenance checks will help you catch and correct any issues before they become major problems.
Calibration is the final touch in bringing your DIY wind turbine to life. It’s about harmonizing your craftsmanship with the forces of nature to harness energy efficiently. As you step back and watch your creation capture the wind, remember that this is just the beginning of an exciting journey in renewable energy.
Conclusion
As we bring our deep dive into the world of DIY wind turbine blades to a close, it’s important to reflect on the journey we’ve embarked upon. From determining the right size and number of blades to choosing materials, shaping them for aerodynamic efficiency, and meticulously installing and calibrating them, each step has been a crucial part of creating a functional and efficient wind turbine.
Building your own wind turbine is more than just a DIY project; it’s a step towards a more sustainable and self-sufficient lifestyle. It’s about harnessing the power of nature in your backyard and contributing to a greener planet. Remember, the journey doesn’t end here. Maintaining and optimizing your wind turbine is an ongoing process, one that requires patience, learning, and a bit of ingenuity.
Our series on DIY wind turbines will continue, delving into other components and aspects of wind energy. Stay tuned for more insights, tips, and guides to help you on your journey towards energy independence and sustainability.
Additional Resources
Here’s a list of articles and videos we found quite useful and insightful while conducting our research:



Leave a Reply