Hello, eco-conscious friends and enthusiasts of energy efficiency! Today, we embark on an exciting exploration into the realm of DIY Net Zero Home projects designed to make your home more energy-efficient and one step closer to Net Zero Energy. I’m your guide, a home energy efficiency advisor, ready to share insights in a friendly and approachable manner.
The Essence of DIY
In our quest for net-zero living, we’ll be focusing on projects that are not only accessible but also remarkably impactful. Forget any notions of daunting renovations; we’re diving into simple and effective projects that anyone can tackle.
The Appeal of DIY Net Zero Home Projects
You might be wondering, “Why choose DIY when professionals are available?” Well, beyond the satisfaction of a job well done, these projects are stepping stones toward a greener and more cost-effective home. Plus, there’s a certain joy in transforming your living space with your own hands.
So, grab your tool kit, embrace your inner DIY enthusiast, and let’s embark on this journey to enhance your home’s energy efficiency—one project at a time! 🌱✨
We will be covering…
- I. Criteria for Selecting DIY Net Zero Home Projects
- II. DIY Project 1: Energy-Efficient Lighting
- III. DIY Project 2: Sealing Air Leaks
- IV. DIY Project 3: Programmable Thermostat Installation
- V. DIY Project 4: Insulating Water Heater Pipes
- VI. DIY Project 5: Installing Low-Flow Fixtures
- VII. DIY Project 6: Building a Compost Bin
- XIII. DIY Project 7: Window Treatments for Insulation
- IX. DIY Project 8: Solar Pathway Lights
- X. DIY Project 9: Creating a Rainwater Harvesting System
- XI. DIY Project 10: Installing a DIY Solar Charger
- Wrap-Up
I. Criteria for Selecting DIY Net Zero Home Projects
Before we plunge into the realm of hands-on endeavors, let’s establish some criteria to guide our selection process. Not all DIY projects are created equal, and we want to ensure that the initiatives we undertake align with our goals of boosting energy efficiency and working towards a net-zero home.
1. Impact
The first litmus test for any DIY project is its impact. We’re not interested in mere cosmetic changes; we’re seeking modifications that will make a tangible difference in our home’s energy consumption. Whether it’s reducing heat loss, optimizing water usage, or enhancing insulation, the chosen project should contribute meaningfully to overall efficiency.
2. Accessibility
Our goal is to empower everyone, regardless of their DIY prowess, to partake in the journey. Therefore, chosen projects should be accessible to a broad audience, with clear instructions and materials readily available. Accessibility ensures that the benefits of energy efficiency are not limited to a select few but can be embraced by homeowners of all skill levels.
3. Cost-Effectiveness
While we’re all for investing in a sustainable future, we want our DIY ventures to be financially sensible. Projects should offer a reasonable cost-to-benefit ratio, ensuring that the money and effort invested yield substantial energy savings over time. This makes sustainability not only environmentally friendly but also wallet-friendly.
4. Level of Difficulty
We’re not embarking on a home improvement reality show; our aim is practicality. Projects should be approachable, taking into account the diverse skill sets of our DIY enthusiasts. Whether you’re a seasoned craftsman or a novice with a toolbox, there should be something for everyone.
5. Scalability
Our net-zero journey is a marathon, not a sprint. The projects we choose should be scalable, allowing us to build on our achievements over time. Each DIY initiative should be a stepping stone, laying the foundation for future enhancements and adjustments as we progressively transform our homes.
With these criteria as our compass, we’re ready to dive into the exciting universe of energy-efficient DIY projects. So, buckle up, DIY enthusiasts, and let’s turn these criteria into action!
II. DIY Project 1: Energy-Efficient Lighting
Our inaugural journey into the realm of DIY energy efficiency starts with a project that brightens not only our living spaces but also our environmental impact: energy-efficient lighting. It’s time to bid farewell to those energy-draining incandescents and usher in the bright, cost-effective future of LED and CFL bulbs.

Overview
What the Project Entails
Say goodbye to outdated incandescent bulbs and hello to energy-efficient alternatives. This project involves replacing traditional bulbs with long-lasting, energy-saving LED or CFL bulbs. We’re not just illuminating our rooms; we’re shedding light on a more eco-friendly and cost-effective lighting solution.
Level of Difficulty
🔧 Skill Level: Beginner This project is as easy as changing a lightbulb—literally. No advanced electrical skills required. If you can unscrew a bulb, you’ve got this.
Benefits
- Energy Savings: LED and CFL bulbs use up to 80% less energy than traditional incandescents, resulting in substantial reductions in electricity bills and carbon emissions.
- Longevity: These energy-efficient bulbs last up to 25 times longer than incandescents, significantly reducing the frequency of replacements and minimizing waste.
- Cooler Temperature: Unlike incandescents that radiate heat, LED and CFL bulbs emit very little heat, contributing to energy efficiency and maintaining a cooler indoor environment.
Summary
By embracing energy-efficient lighting, we’re not just changing bulbs; we’re illuminating our homes with sustainable solutions. This project isn’t just about brightness; it’s about making a quantifiable impact on both our energy bills and the planet. So, let’s shine a light on a brighter, more sustainable future, one bulb at a time! 💡🌿
III. DIY Project 2: Sealing Air Leaks
Moving forward in our DIY energy efficiency expedition, we’re turning our attention to a project that ensures our homes are not just cozy but also airtight. Say goodbye to drafts and hello to a more comfortable, energy-efficient living space.

Overview
What the Project Entails
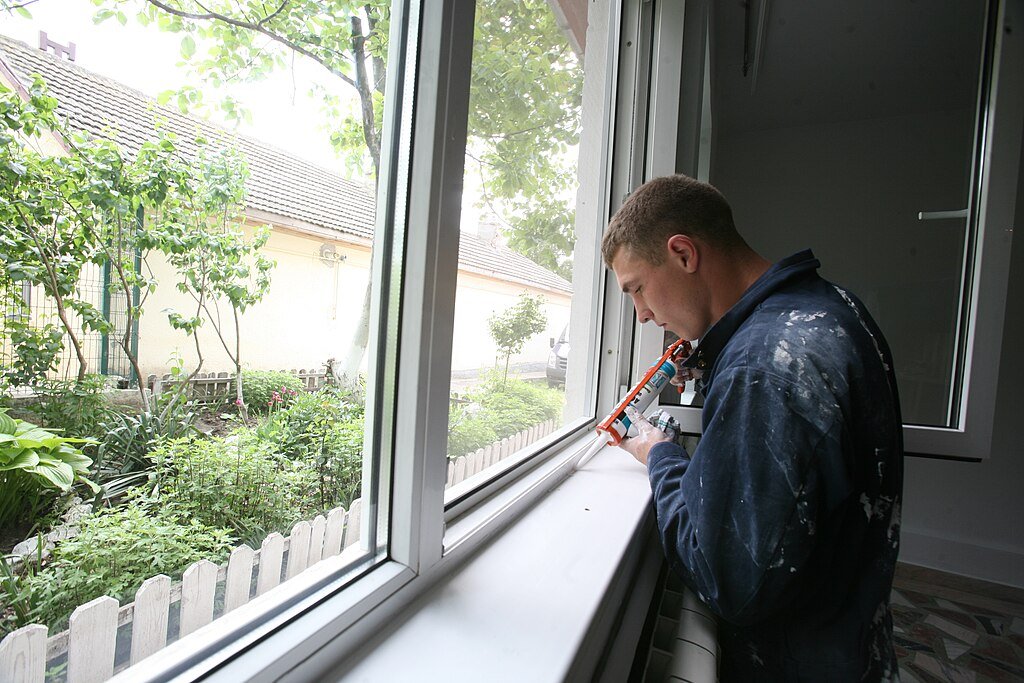
Sealing air leaks involves identifying and closing gaps, cracks, and openings in your home’s exterior, preventing the exchange of indoor and outdoor air. By doing so, we’re not only enhancing comfort but also optimizing heating and cooling efficiency.
Level of Difficulty
🔧🔧 Skill Level: Intermediate While not overly complex, identifying and sealing air leaks may require a bit more attention to detail. It’s a step beyond changing a lightbulb but well within reach for the average DIY enthusiast.
Benefits
- Energy Efficiency Boost: Sealing air leaks can reduce heating and cooling costs by up to 20%, ensuring that the conditioned air stays inside, where it belongs.
- Enhanced Comfort: Say goodbye to chilly drafts in winter and hot spots in summer. Properly sealed homes offer consistent comfort throughout the year.
- Improved Indoor Air Quality: By sealing leaks, you’re not just keeping conditioned air in; you’re also preventing outdoor pollutants from sneaking into your home.
Summary
Sealing air leaks is like giving your home a cozy sweater—keeping it warm in winter, cool in summer, and energy-efficient all year round. This project not only improves comfort but also puts you in control of your home’s energy destiny. So, let’s plug those gaps and embrace a cozier, more efficient abode! 🏡🌬️
IV. DIY Project 3: Programmable Thermostat Installation
Our DIY energy efficiency endeavors now lead us to a project that puts control at our fingertips—literally. Say hello to the programmable thermostat, a small device with the power to make a big impact on our home’s energy consumption.
Overview
What the Project Entails
Installing a programmable thermostat involves replacing your traditional thermostat with a smarter, more efficient counterpart. This allows you to schedule temperature changes based on your daily routines, optimizing energy use when it’s needed most.
Level of Difficulty
🔧🔧 Skill Level: Intermediate While not overly complicated, installing a programmable thermostat may require basic electrical knowledge. Fear not, though; most come with user-friendly instructions.
Benefits
- Energy Savings: Programmable thermostats can save up to 10% on heating and cooling costs by automatically adjusting the temperature when you’re away or asleep.
- Customized Comfort: Tailor your home’s temperature to match your schedule. No more heating an empty house or returning to a chilly home.
- Environmental Impact: By reducing energy consumption, you’re contributing to a greener planet, one programmable thermostat at a time.
Summary
This project isn’t just about installing a fancy gadget; it’s about taking control of your home’s climate and energy use. With a programmable thermostat, you’re not just setting temperatures; you’re setting the stage for a more efficient and comfortable living space. So, let’s program our way to energy savings and climate control nirvana! 🌡️🏡✨
V. DIY Project 4: Insulating Water Heater Pipes
In our quest for energy efficiency, we’re turning our attention to a project that might be out of sight but should never be out of mind—insulating water heater pipes. This DIY endeavor promises not only energy savings but also the luxury of faster hot water delivery.
Overview
What the Project Entails
Insulating water heater pipes involves wrapping them in specially designed insulation material. This simple step helps retain the heat of the water as it travels from the heater to your faucets, reducing the need for constant reheating.
Level of Difficulty
🔧 Skill Level: Easy Consider this project an entry-level task for aspiring DIY enthusiasts. Wrapping pipes doesn’t require advanced skills, making it accessible to almost everyone.
Benefits
- Energy Efficiency: Insulating pipes reduces heat loss during water transportation, leading to lower energy consumption and, consequently, reduced utility bills.
- Quick Hot Water Access: Insulated pipes mean hot water reaches your faucets faster, cutting down the time you spend waiting for a warm shower or for water to heat up in the kitchen.
- Extended Lifespan of Water Heater: By reducing the workload on your water heater, insulating pipes can contribute to its longevity, saving you money in the long run.
Summary
This seemingly small project packs a punch when it comes to energy savings and convenience. Insulating water heater pipes is a straightforward way to make your home more efficient while enjoying the luxury of quicker access to hot water. So, let’s wrap it up and keep the heat where it belongs—inside our pipes and in our homes! 🚿🔥🏡
VI. DIY Project 5: Installing Low-Flow Fixtures
Our journey toward a more efficient home continues with a project that not only saves water but also reduces the strain on our wallets. Say hello to low-flow fixtures, the superheroes of water conservation.

Overview
What the Project Entails
Installing low-flow fixtures involves replacing your existing faucets, showerheads, and other water fixtures with versions designed to limit water flow without compromising performance.
Level of Difficulty
🔧🔧 Skill Level: Easy to Moderate While not overly complex, this project may involve some basic plumbing work. Fear not; the water-saving benefits are well worth the effort.
Benefits
- Water Savings: Low-flow fixtures can reduce water consumption by up to 60%, helping you conserve this precious resource.
- Energy Savings: Less water used means less energy expended on heating it, translating to additional savings on your energy bills.
- Environmental Impact: By using less water, you’re contributing to water conservation efforts and reducing the environmental footprint of your household.
Summary
This project is about more than just updating your bathroom aesthetics; it’s a commitment to sustainable water usage. Low-flow fixtures are an easy and effective way to make a significant impact on both your water bills and the environment. So, let’s take the plunge into water efficiency and transform our homes, one low-flow fixture at a time! 💧🚿🌍
VII. DIY Project 6: Building a Compost Bin
Overview
What the Project Entails
Composting is a simple yet powerful way to reduce kitchen waste and enrich your garden. Building a compost bin involves creating a dedicated space to decompose organic matter naturally. This project typically utilizes wooden pallets, wire mesh, or repurposed materials.
Level of Difficulty
🔧 Skill Level: Easy This project is beginner-friendly, making it an excellent choice for those new to DIY endeavors. No advanced skills are required, just a willingness to embrace sustainable waste management.
Benefits
- Waste Reduction: By composting kitchen scraps and yard waste, you divert a significant portion of your household waste from landfills.
- Nutrient-Rich Soil: The compost produced serves as a natural fertilizer, enriching your garden soil with essential nutrients.
- Cost Savings: Instead of purchasing fertilizers, you can use the nutrient-rich compost from your bin, saving money in the long run.
Summary
Building a compost bin transforms your kitchen and garden waste into a valuable resource. It’s a small step with substantial benefits, aligning with the principles of sustainability. As you embark on this DIY composting journey, remember that even the smallest contributions play a vital role in creating a greener and more sustainable future. Happy composting! 🌱♻️🌍
XIII. DIY Project 7: Window Treatments for Insulation
Our energy-efficient journey takes us to the windows—the gateways to natural light and, sometimes, unwanted heat exchange. With strategic window treatments, we can strike a balance between illumination and insulation.

Overview
What the Project Entails
Enhancing your windows for better insulation involves installing or upgrading window treatments like curtains, blinds, or shades. The goal is to minimize heat loss during winter and heat gain during summer.
Level of Difficulty
🔧 Skill Level: Easy No need for advanced carpentry here. Installing window treatments is a simple task that requires basic tools and a creative touch.
Benefits
- Temperature Regulation: Properly chosen window treatments can help maintain comfortable temperatures indoors, reducing the need for excessive heating or cooling.
- Energy Savings: By preventing drafts and blocking unwanted heat, insulated window treatments contribute to lower energy consumption and cost savings.
- UV Protection: Some treatments offer UV protection, safeguarding your furnishings and decor from sun damage.
Summary
As we dress our windows, let’s not only consider aesthetics but also the practical aspects of energy efficiency. Window treatments are a stylish yet functional way to enhance insulation and make our homes more comfortable year-round. So, let’s adorn our windows with purpose, creating a space where beauty and efficiency coexist! 🌞🏡🪞
IX. DIY Project 8: Solar Pathway Lights
Our next venture into energy efficiency takes us outdoors, where we’ll illuminate pathways with the power of the sun. Solar pathway lights not only enhance curb appeal but also add a touch of eco-friendly brilliance to your outdoor space.
Overview
What the Project Entails
Solar pathway lights are standalone fixtures equipped with photovoltaic cells that harness solar energy during the day. They store this energy in batteries and use it to power LED lights at night.
Level of Difficulty
🔧 Skill Level: Easy This project requires minimal technical expertise. Most solar lights are designed for simple installation—no wiring needed.
Benefits
- Energy Independence: Solar lights operate independently of the electrical grid, relying on renewable solar energy. This reduces your reliance on traditional power sources.
- Cost Savings: With no electricity costs, solar pathway lights offer a cost-effective way to illuminate your outdoor spaces.
- Enhanced Safety and Ambiance: Illuminate walkways, driveways, or garden paths for safety while creating a charming ambiance around your home.
Summary
Let’s light up our pathways with the brilliance of solar energy. This project not only adds a delightful glow to your outdoor spaces but also contributes to a more sustainable and energy-efficient home. So, let’s embrace the power of the sun and guide our way to a brighter, greener future! ☀️🌿🏡
X. DIY Project 9: Creating a Rainwater Harvesting System
As we continue our journey toward a sustainable home, the focus shifts to water conservation. Harnessing the power of nature, let’s explore the installation of a rainwater harvesting system—an eco-friendly endeavor that brings us closer to self-sufficiency.
Overview
What the Project Entails
A rainwater harvesting system collects and stores rainwater from roofs or other surfaces. This harvested rainwater can then be used for various purposes such as watering plants, flushing toilets, or even for non-potable household needs.
Level of Difficulty
🔧🔧 Skill Level: Moderate While not overly complex, installing a rainwater harvesting system involves working with gutter systems, downspouts, and storage containers. Basic plumbing skills are beneficial.
Benefits
- Water Conservation: Reduce dependence on municipal water supplies by utilizing rainwater for non-drinking purposes, helping conserve this precious resource.
- Cost Savings: Lower your water bills as you substitute rainwater for activities like watering the garden or cleaning outdoor spaces.
- Environmentally Friendly: By capturing rainwater, you contribute to less strain on local water supplies and reduce the energy required for water treatment.
Summary
Let’s tap into the abundance that falls from the sky. Installing a rainwater harvesting system not only conserves water but also aligns with a more sustainable and responsible approach to resource management. So, let the rain be your ally in creating a greener, more eco-conscious home! 🌧️💧🏡
XI. DIY Project 10: Installing a DIY Solar Charger
Our final DIY Net Zero home project brings us full circle to the power of the sun. This time, we’re tapping into solar energy to charge our devices with a simple and efficient DIY solar charger.
Overview
What the Project Entails
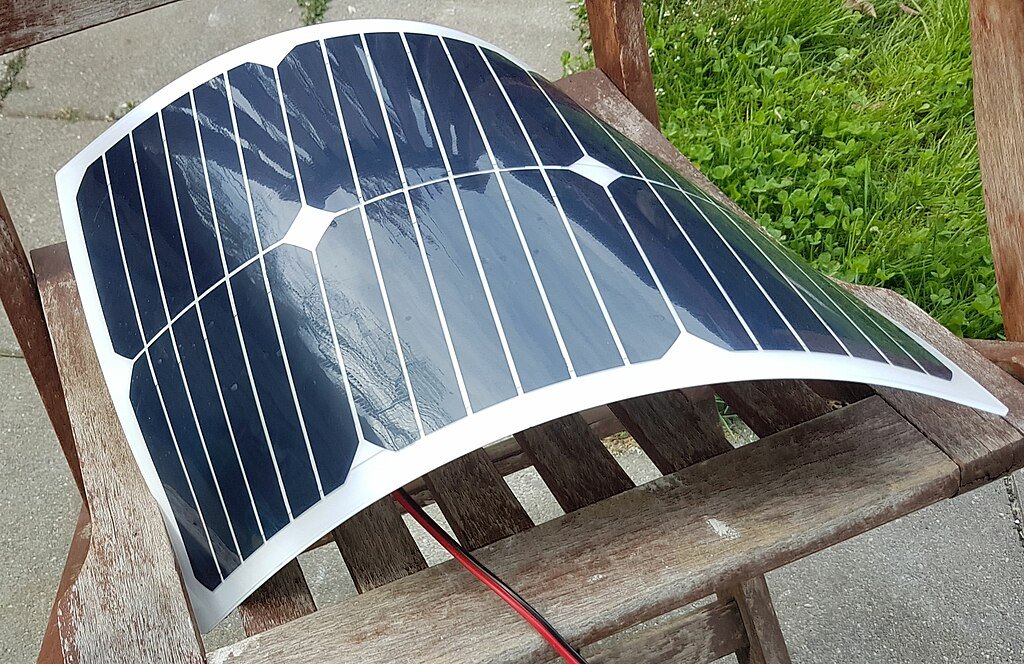
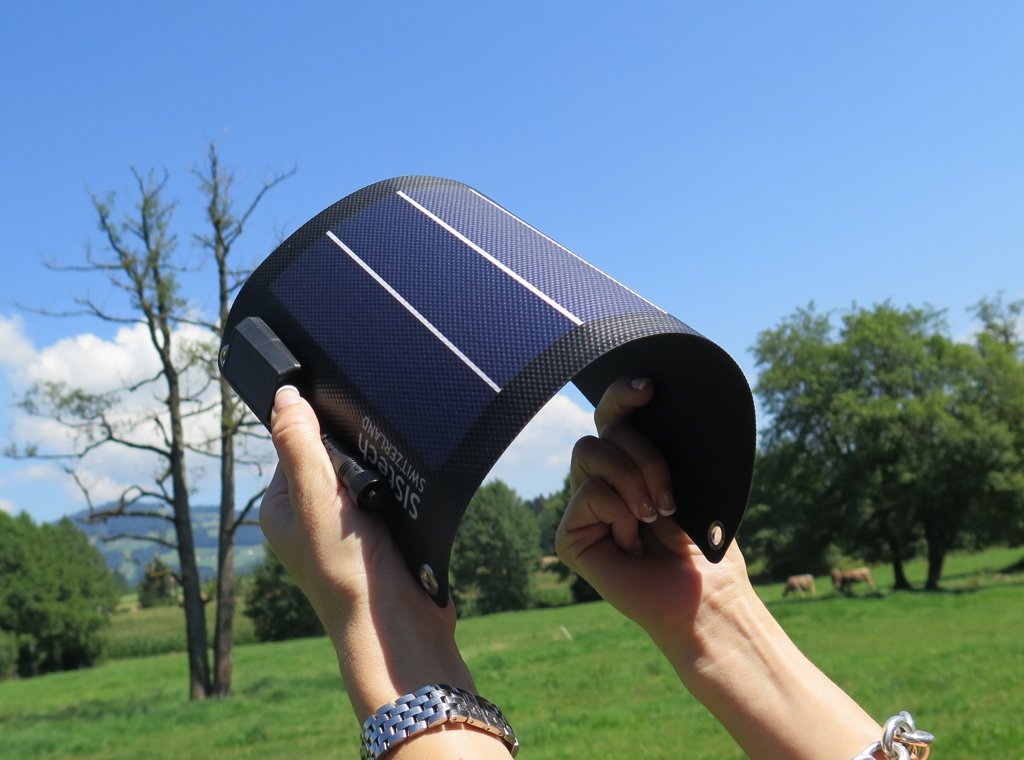
A DIY solar charger converts sunlight into electricity to power small devices like smartphones, tablets, or rechargeable batteries. It typically consists of solar panels, a charge controller, and a battery for energy storage.
Level of Difficulty
🔧🔧 Skill Level: Moderate This project requires basic knowledge of electronics, including soldering and connecting wires. While not overly complex, it’s ideal for those comfortable with DIY electronics.
Benefits
- Off-Grid Charging: Harness the power of the sun to charge your devices, providing a convenient off-grid charging solution.
- Emergency Power Source: During power outages or outdoor activities, a solar charger ensures you have a reliable source of power for essential devices.
- Reduced Energy Bills: For small electronic devices, a solar charger can contribute to lower energy consumption and reduced electricity bills.
Summary
Let’s conclude our journey into sustainable DIY projects with the sun as our ally. Crafting a DIY solar charger not only empowers you with green energy but also serves as a reminder of the simple, effective ways we can integrate sustainability into our daily lives. Shine on, powered by the sun! ☀️🔋🌿
Wrap-Up
As we wrap up our exploration of DIY projects for a more energy-efficient and sustainable home, it’s evident that small changes can make a big impact. Each project undertaken is a step toward creating a living space that aligns with eco-friendly principles, reducing our environmental footprint.
Recap of Key Points
- Energy Efficiency Matters: Prioritize projects that enhance energy efficiency, contributing to lower bills and a greener lifestyle.
- Start Small, Aim Big: DIY projects provide an excellent entry point into sustainable living. Begin with manageable tasks and gradually take on more ambitious projects.
- Conscious Consumption: Consider the environmental impact of materials used in each project. Opt for sustainable and recycled materials whenever possible.
Encouragement for Homeowners
Embarking on the journey to make your home more energy-efficient is both a responsible and rewarding endeavor. By embracing these DIY projects, you’re not just improving your living space but actively participating in the global movement toward sustainable living.
Future Outlook and Trends in DIY Sustainability
As technology advances and awareness grows, the landscape of DIY sustainability will continue to evolve. Keep an eye on emerging trends, from innovative materials to smart home solutions, as the DIY community adapts to new challenges and opportunities.
In conclusion, let these DIY projects be the building blocks of a home that prioritizes environmental responsibility. From energy-efficient lighting to rainwater harvesting and solar charging, your efforts contribute to a more sustainable and resilient future. Cheers to a greener, more eco-conscious home!
Do you have any interesting projects you would like to share with the community? Feel free to comment below or on our Reddit Community!!


Leave a Reply